Transform Your Ministry's Feed with a Church Social Media Post Template
Scrolling through your church’s social media feed, you might notice a disconnect. One post uses a serif font, the next a playful script, and the background colors seem to shift with every announcement. The message is powerful, but the presentation feels scattered, making it harder for your community to instantly recognize your content. A cohesive visual language isn't just about looking polished; it's about building trust and ensuring your ministry’s voice cuts through the digital noise. This is where a thoughtfully designed template becomes an indispensable tool, not just a pretty picture.
Beyond Aesthetics: Building a Recognizable Ministry Brand
Think of your church’s social media presence as its digital front door. Consistency in your visual branding acts like a familiar signpost, helping members and newcomers alike identify your posts instantly. A standardized Church Social Media Post Template provides that crucial framework. By using a consistent color palette, typography, and layout structure, you create a subconscious pattern of recognition. This isn’t about stifling creativity; it’s about channeling it effectively. When someone sees your event announcement or sermon quote, they should know it’s from you before reading a single word. This level of brand recognition fosters a sense of belonging and professionalism, signaling that your ministry pays attention to detail in all areas of communication.
The real-world application is straightforward. Instead of starting from scratch for each Bible study reminder, volunteer call, or worship lyric graphic, you begin with a proven, editable foundation. This saves invaluable time for volunteer teams or staff, allowing them to focus on crafting the message itself rather than wrestling with design software. The practical value is immense: it ensures every post, from a simple text-based encouragement to a multi-slide carousel, looks intentionally part of a whole. This visual consistency directly supports brand identity, making your ministry’s content more memorable and professional in a crowded feed.
Unpacking the Toolkit: What Makes This Template Work
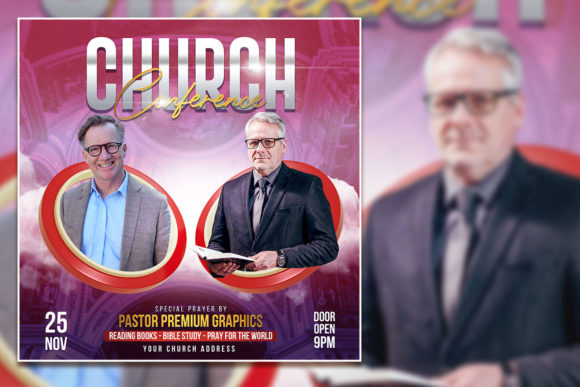
A truly functional template is more than just a static image. It’s a design asset built for real-world use. The key features to look for are what set a professional tool apart from a simple graphic. First, the file should be 100% layered and fully editable. This means every single element—the background, text blocks, decorative lines, image placeholders—is on its own layer. You can click on a headline, change the wording, adjust the font size, or alter the color with a few clicks. There’s no need to deconstruct a flattened image or compromise the design’s integrity.
Technical specifications ensure quality and versatility. A resolution of 2000 x 2000 pixels at 300 DPI in an RGB color profile is the modern standard. This high resolution guarantees your graphics will look crisp and clear on any screen, from a smartphone to a large desktop monitor. The print-ready format is a bonus, allowing you to repurpose digital designs for physical materials like bulletin inserts or posters without losing quality. Furthermore, a template that uses 100% free fonts eliminates a common barrier. You won’t need to purchase expensive commercial fonts licenses to use the design, making it immediately accessible for ministries of all sizes.
It’s crucial to understand what the template provides and what it doesn’t. The included images and photos are strictly for previewing purposes. This is a standard and ethical practice in design asset distribution. The template gives you the perfect, professionally designed container—the layout, the typography, the visual accents. Your role is to fill it with your own authentic content: your congregation’s photos, your pastor’s quotes, your event details. The process is designed to be intuitive, allowing you to replace the picture by yours seamlessly. The layered structure makes this a simple drag-and-drop or clipping mask operation in software like Photoshop, empowering even those with basic design skills to create polished results.
From Template to Touchpoint: Practical Applications for Your Ministry
The versatility of a well-structured template extends far beyond a standard announcement post. Consider these practical applications to maximize your investment:
- Sermon Series Promotion: Create a cohesive set of graphics for each new series. Use the template for the series announcement, weekly sermon title cards, quote graphics, and follow-up discussion questions. This builds anticipation and provides a visual thread throughout the series.
- Event Marketing: From summer camps to community service projects, use the template to generate all necessary assets: save-the-date graphics, detailed information posts, countdowns, and recap photos. The consistent look helps reinforce the event’s importance and your church’s organizational credibility.
- Community Engagement: Design shareable social media graphics for prayer requests, volunteer spotlights, or member milestones. A recognizable template encourages interaction and sharing, extending your reach organically.
- Internal Communication: Don’t limit it to public-facing posts. Use the same visual system for internal team updates, volunteer schedules, or leadership devotional graphics. This reinforces unity and brand consistency within your community.
- Digital Products & Resources: If your ministry creates downloadable resources like Bible reading plans or study guides, use the template to design the covers and promotional graphics. This creates a seamless experience from the social media post to the downloaded resource.
This approach transforms a single PSD file into a dynamic content creation system. It ensures that whether you’re promoting a youth group bake sale or sharing a profound scripture, the visual presentation is consistently strong, professional, and unmistakably yours. The goal is to make every interaction—from a quick scroll-stop to a saved post—a positive and branded touchpoint.
Smart Design Choices: Pairing and Presentation
While the template provides a foundational layout, thoughtful customization elevates the final product. Choosing the right font style from the included options is a key decision. Does the event call for a formal, traditional serif font that conveys heritage and stability? Or would a clean, modern sans serif font better communicate approachability and clarity? For a heartfelt testimony, a tasteful script font might add a personal touch, but it should be used sparingly to maintain readability. The template likely includes a curated selection, offering a premium font feel without the cost.
Always test your font pairings. A common and effective strategy is to pair a bold, decorative display font for headlines with a highly legible body font for supporting text. This creates a clear visual hierarchy. Readability considerations are non-negotiable. Ensure sufficient contrast between text and background colors. Avoid placing light-colored text over busy photo areas without a semi-transparent overlay or solid background shape. The template’s layered structure makes adding these elements easy. Remember, the primary goal is clear communication; visual consistency should enhance, not hinder, that goal.
Before finalizing any post, review it on a actual smartphone screen. How does it look in a vertical feed? Is the text large enough to be read quickly? Does the key information stand out? This simple test ensures your design works in the real environment where it will be consumed. By leveraging the template’s structure and applying these practical design principles, you move beyond simply posting content to strategically crafting visual communications that engage, inform, and inspire your audience.